実際の Python アプリケーション。 パート 11 初心者から上級者までの Python コース 11 のブログ投稿
公開: 2022-01-27この記事では、読者が以前のすべてのブログから学んだことを使用して、ミニ プロジェクトを作成するのに役立ちます。 実際に Python アプリケーションを発見できます。 コード エディターとして Visual Studio Code を使用します。 Visual Studio Code をインストールしていない場合は、最初のブログに手順が記載されています。
実際の Python アプリケーション – 数当てゲームの作成
このミニプロジェクトは、関数の使用方法や、以前のブログで学んだ他のほとんどのことを学ぶのに刺激的です。 このミニプロジェクト ゲームは、1 から 1000 までの乱数を生成します。簡単にしたい場合は、範囲を小さくして、ゲームをプレイしているユーザーがその数を推測する必要があります。 エキサイティングですね。 さらにエキサイティングなのは、ユーザーが数字を間違って推測した場合に、ユーザーが数字を正しく推測できるように、いくつかの手がかりを与えることができることです。
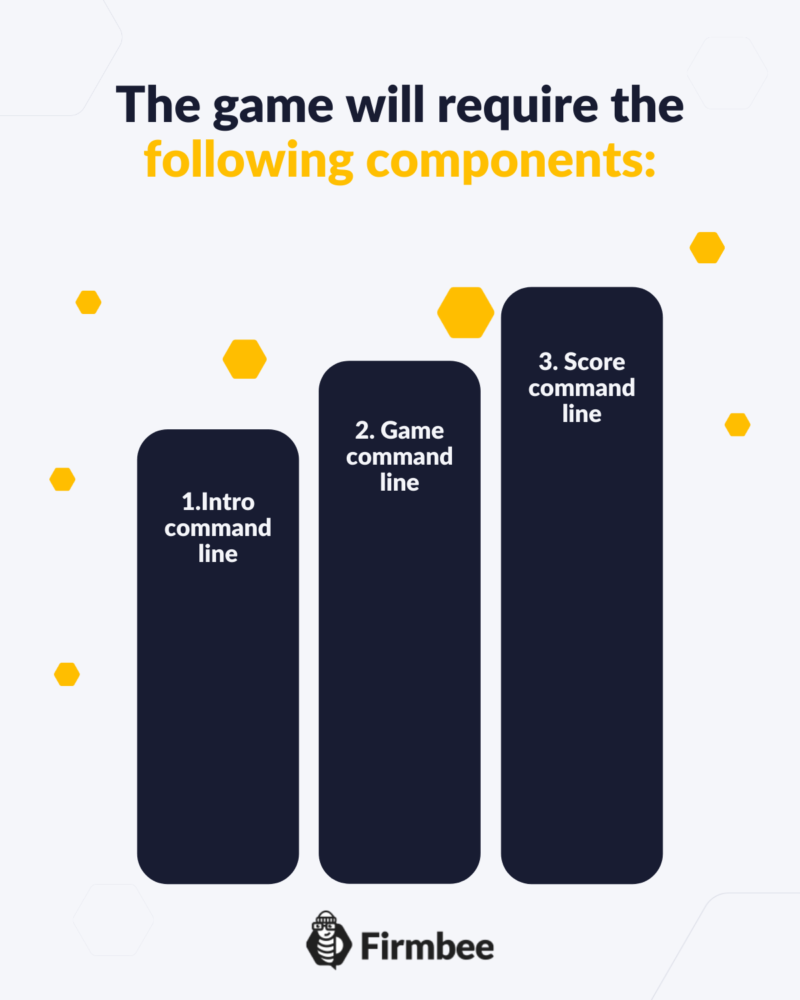
実際に Python アプリケーションを使用してゲームの設計図を作成してみましょう。

コマンドラインの紹介
イントロ コマンド ラインでは、ユーザーに数字を推測するように求めます。 名前と年齢をお聞きします。 次に、ゲームをプレイするかどうかを尋ねます。 これをコードで実行しましょう。
# Intro Panel Command line

print("Welcome to the guessnum")

name=input("what is your name?")
print(f"Hello {name}")
Output:
Welcome to the guessnum
Hello john
ご覧のとおり、最初にゲームをユーザーに紹介し、次にユーザーに名前を尋ねました。 保存した名前を使用して挨拶しました。 次に、ユーザーに年齢を尋ねてみましょう。
# Intro Panel Command line

print("Welcome to the guessnum")

name=input("what is your name?")
age=int(input(f"Hello {name}, what is your age?"))
print(f"Hello {name}")
Output:
Welcome to the guessnum
Hello john
ここに fstring が表示されています。これは format の代わりです。f の後に文字列を記述すると、格納された変数を「{}」内で直接使用できます。
これで、ほとんどのイントロ パネルが表示されます。 ここで、ユーザーにゲームをプレイするかどうかを尋ねましょう。ゲームをプレイしたい場合は、数字を推測するように依頼し、それが正しいかどうかを判断できます。 しかし、ユーザーに番号を推測してもらう前に、プログラムの番号を用意しておく必要があります。 コードでそれがどのように行われるか見てみましょう。
# Intro Panel Command line

print("Welcome to the guessnum")

name=input("what is your name?")
age=int(input(f"Hello {name}, what is your age?"))
choice=input(f"Hello {name}, would you like to play the game? y/n")

if choice=="y":
    pass
else:
    print("exiting")
    exit
ここで、ユーザーにゲームをプレイするかどうかを尋ねる別のプロンプトを作成します。以前のブログで学習した条件を使用して、ユーザーが「はい」と答えた場合は続行し、「いいえ」と答えた場合はゲームを終了します。 ゲームの拡張を続けて、ユーザーに数字を尋ねましょう。その前に、コードで乱数を選択させましょう。
# Intro Panel Command line
import random
print("Welcome to the guessnum")

name=input("what is your name?")
age=int(input(f"Hello {name}, what is your age?"))
choice=input(f"Hello {name}, would you like to play the game? y/n")

if choice=="y":
    number=int(random.randint(1,5))
    guess=int(input("Please input your guess"))
    print(f"your guess is {guess}")
else:
    print("exiting")
    exit
Output:
Welcome to the guessnum
your guess is 2
ここで、指定された範囲から乱数を選択する random と呼ばれるインポートを追加しました。 関数は random.randint(start,end) です。 次に、ユーザーに数字を推測するように求め、ユーザーの推測を出力しています。
プログラムの推測も出力しましょう。
# Intro Panel Command line
import random
print("Welcome to the guessnum")

name=input("what is your name?")
age=int(input(f"Hello {name}, what is your age?"))
choice=input(f"Hello {name}, would you like to play the game? y/n")

if choice=="y":
    number=int(random.randint(1,5))
    guess=int(input("Please input your guess"))
    print(f"your guess is {guess} and program's guess is {number}")
else:
    print("exiting")
    exit
output:
Welcome to the guessnum
your guess is 2 and the program's guess is 5
したがって、プログラムの推測とユーザーの推測がほぼ半分になっていることがわかります。 これで、ユーザーが正しいかどうかを比較して印刷できます。
# Intro Panel Command line
import random
print("Welcome to the guessnum")

name=input("what is your name?")
age=int(input(f"Hello {name}, what is your age?"))
choice=input(f"Hello {name}, would you like to play the game? y/n")

if choice=="y":
    number=int(random.randint(1,5))
    guess=int(input("Please input your guess"))

    if guess==number:
        print("you guessed it right!!!")


    print(f"your guess is {guess} and program's guess is {number}. Sorry!!! your guess is wrong")

else:
    print("exiting")
    exit
output:
Welcome to the guessnum
your guess is 2 and the program's guess is 1. Sorry!!! your guess is wrong
ご覧のとおり、私は間違って推測しましたが、おそらくあなたは正しく推測できます。 このゲームは、スコア ファクターを追加することで、より面白くすることができます。 次に、スコア係数をコーディングしましょう。

# Intro Panel Command line
import random
print("Welcome to the guessnum")

name=input("what is your name?")
age=int(input(f"Hello {name}, what is your age?"))
choice=input(f"Hello {name}, would you like to play the game? y/n")
correct=0


while(choice=="y"):
    number=int(random.randint(1,5))
    guess=int(input("Please input your guess"))

    if guess==number:
        print("you guessed it right!!!")
        correct+=1
        choice=input(f"Hello {name}, would you like to continue the game? y/n")


    print(f"your guess is {guess} and program's guess is {number}. Sorry!!! your guess is wrong")
    choice=input(f"Hello {name}, would you like to continue the game? y/n")


else:
    print(f"your score is {correct}")
    print("exiting")
    exit
output:
Welcome to the guessnum
your guess is 1 and program's guess is 5.
Sorry!!! your guess is wrong your guess is 2 and program's guess is 3.
Sorry!!! your guess is wrong your guess is 3 and program's guess is 2.
Sorry!!! your guess is wrong your guess is 4 and program's guess is 3.
Sorry!!! your guess is wrong your guess is 1 and program's guess is 2.
Sorry!!! your guess is wrong your guess is 2 and program's guess is 5.
Sorry!!! your guess is wrong your guess is 3 and program's guess is 4.
Sorry!!! your guess is wrong your guess is 3 and program's guess is 2.
Sorry!!! your guess is wrong your guess is 3 and program's guess is 5.
Sorry!!! your guess is wrong your guess is 4 and program's guess is 2.
Sorry!!! your guess is wrong your guess is 3 and program's guess is 1.
Sorry!!! your guess is wrong your guess is 4 and program's guess is 5.
Sorry!!! your guess is wrong your guess is 2 and program's guess is 2.
you guessed it right!!!
Sorry!!! your guess is wrong your score is 1 exiting
ご覧のとおり、while ループを利用し、ユーザーのスコアを示す新しい変数 correct を使用しました。 出力に出力するもの。

初心者から上級者までの JavaScript コースもお勧めです。
おめでとう! これで、Python アプリケーションを実際に使用する方法がわかったので、コースを正式に終了しました: 11 のブログ投稿での初心者から上級者までの Python コース著者: ロバート・ホイットニー
JavaScript のエキスパートであり、IT 部門を指導するインストラクター。 彼の主な目標は、コーディング中に効果的に協力する方法を他の人に教えることで、チームの生産性を向上させることです。
11 のブログ投稿で初心者から上級者までの Python コース:
- Pythonコースの紹介。 パート 1 Python コースの初級者から上級者までの 11 のブログ投稿
- Python の変数とデータ型。 パート 2 初心者から上級者までの Python コースを 11 のブログ記事で紹介
- Python のタプル、リスト、セット、辞書。 Part 3 初心者から上級者までの Python コースを 11 のブログ記事で紹介
- Python セットと辞書。 第 4 部 11 のブログ投稿で初心者から上級者までの Python コース
- Python の条件ステートメント。 Part 5 初心者から上級者までの Python コース 11 のブログ投稿
- Python でのループ。 パート 6 初心者から上級者までの Python コース 11 のブログ投稿
- Python 関数。 Part 7 初心者から上級者までの Python コースを 11 のブログ記事で紹介
- Python の高度な機能。 Part 8 初心者から上級者までの Python コースを 11 のブログ記事で紹介
- Python クラスとオブジェクト。 パート 9 初心者から上級者までの Python コース 11 のブログ投稿
- Python のファイル。 パート 10 初心者から上級者までの Python コース 11 のブログ投稿
- 実際の Python アプリケーション。 パート 11 初心者から上級者までの Python コース 11 のブログ投稿
